

At some point, we may need to support multiple languages in our app. This is where localization comes in. We usually start developing an app in one language and localize it to support other languages. In this post I will go over how to localize iOS apps. At the time of writing, this process is tested on XCode 12.4.
Table of Contents
Language support configuration
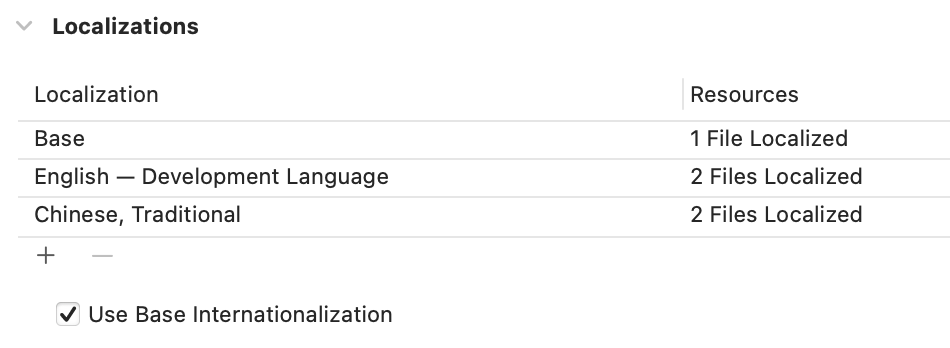
To start internalization, we need to enable “Use Base Internalization”. This is by default enabled in Xcode 12. The setting is under Project setting -> Info. You may not have other languages yet, since we haven’t started. To add a new language, click on the “+” sign and choose the new language to support. In this example, I added Chinese, Traditional which is the language I would like to add in addition to the development language English.

Localizable.strings
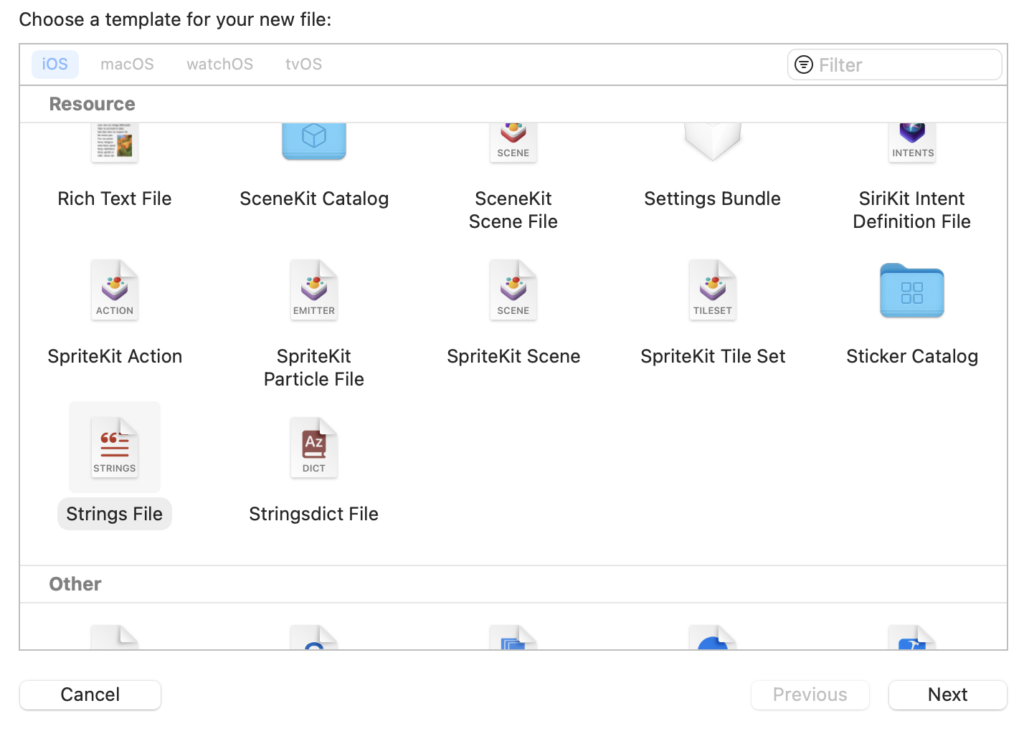
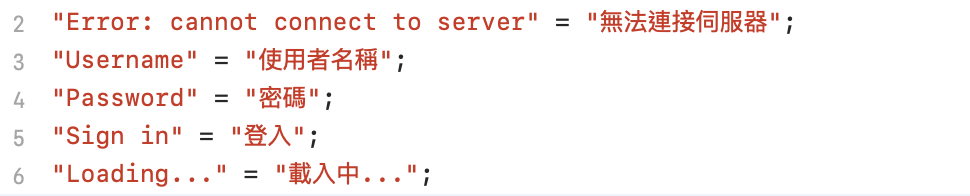
All translations from development language to another will be stored in key-value pairs in Localizable.strings file. Each supported language will have a corresponding file. The first step here is to create the files. Go to File->New->File, and Choose Strings File to create a new Strings file.

Click “Next”, name the file “Localizable.strings” and add it to the project. This will actually create several files corresponding to the supported language which we have added. So in my example, we have Chinese, Traditional and English.


I used SwiftUI to develop my app. All I need to do is to figure out which strings in our UI are there to translate and make a list of key value pairs.

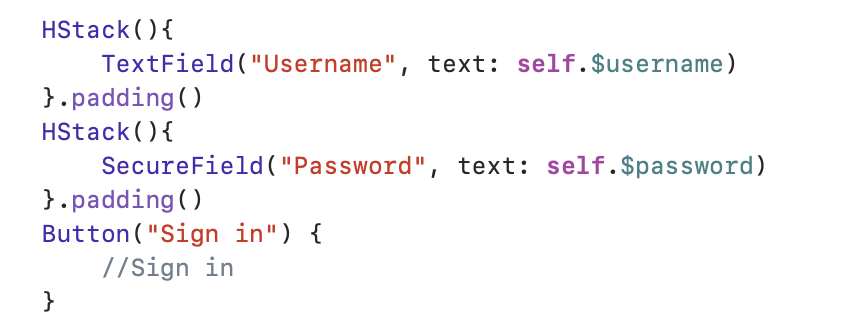
As long as the string on the left matches the string used in our code, XCode takes care of the mapping and will show the translated string on the right on the device using the corresponding language. For example, I originally wrote my UI which contains the Username, Password, Sign in were like the following. It does not require any change here.

App name localization
The app name is localized in a similar way. However, the app name is set in Info.plist, so we need a InfoPlist.strings file for the localization. We create another .strings file by going to File->New->File, choose Strings file again, and this time we name it InfoPlist.strings.
For app name, the key value pair should include CFBundleDisplayName. So we add to each language file the translation of the app name like this.
"CFBundleDisplayName" = "YOURAPPNAME";References
https://developer.apple.com/videos/play/wwdc2020/10119/
